

How to Find Your Body Shape Without a Measuring Tape: 3 Accurate DIY Methods
Diagnose your silhouette without a tailor tape. Learn the string comparison method, the mirror plumb-line alignment test, and commercial denim fit clues.
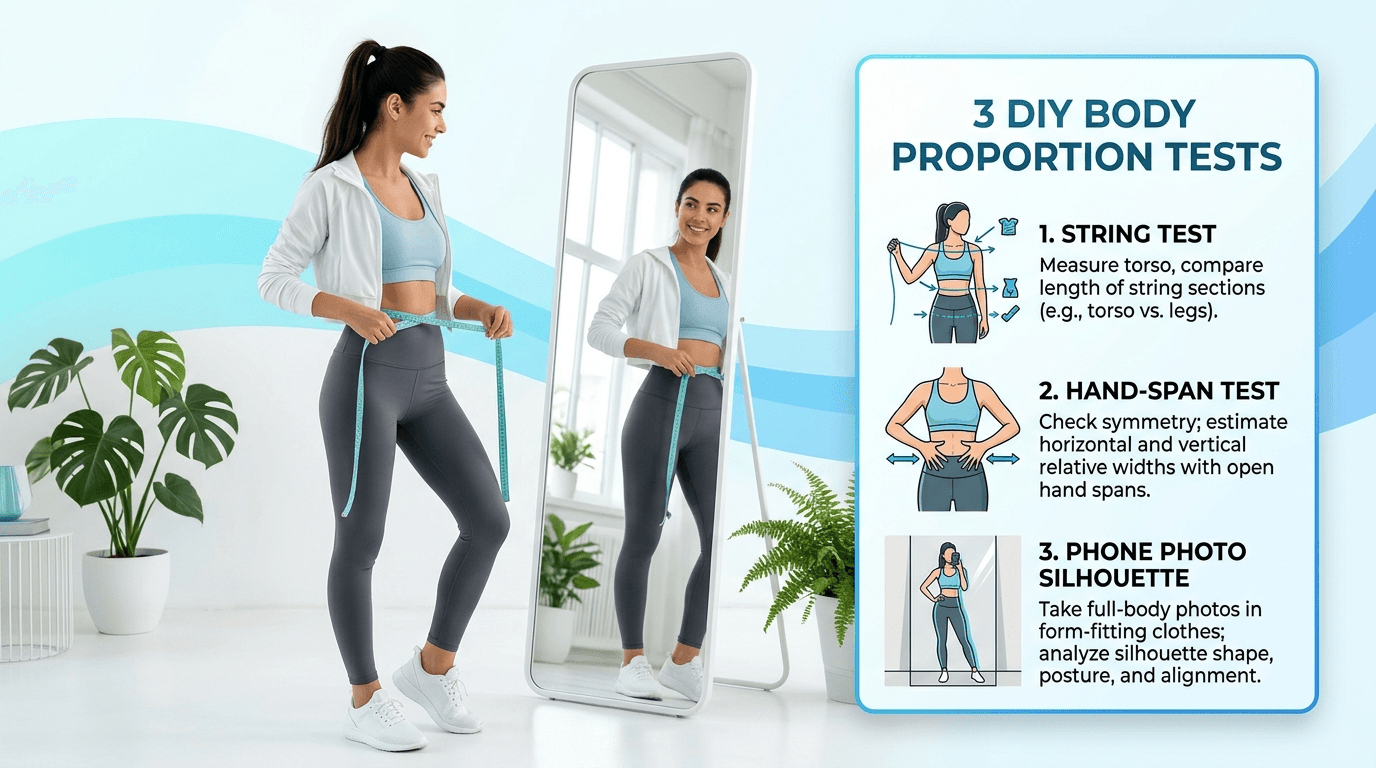
While exact tape measurements in inches or centimeters provide definitive clinical data for circumference ratios, geometric body shape is fundamentally a matter of relative horizontal proportions. These three non-tape diagnostic techniques evaluate shoulder-to-hip alignment, waist indentation deltas, and garment tension points.
How to Find Your Body Shape Without a Tape Measure (Direct Answer)
You can accurately diagnose your body shape without a flexible measuring tape by using one of three reliable DIY methods: The String & Standard Object Technique, The Full-Length Mirror Vertical Alignment Test, or The Non-Stretch Denim Friction Assessment.
Because your silhouette is governed by the proportional ratios between your upper frame (shoulders/bust), core (natural waist), and lower body (hips/pelvis) rather than raw numerical volume, visual and string comparisons reveal whether your shoulders exceed your hips (Inverted Triangle), your hips exceed your shoulders (Pear/Spoon), or both match with a tapered waist (Hourglass/Figure-8).
Once you have your preliminary ratio estimates, you can verify your results against the clinical algorithms in our interactive Body Shape Calculator.
Method 1: The Non-Stretch String & Reference Object Technique
This is the most mathematically accurate substitute for a tailor’s tape measure. It replicates true circumference measurement without elastic distortion:
Step-by-Step String Measurement Protocol
- Choose the Right String: Use non-elastic yarn, baker’s twine, dental floss, or phone charging cable. Avoid rubber bands or stretchy bungee materials that deform under tension.
- Wrap Your Bust: Wrap the string around the fullest part of your bust. Pinch the exact meeting point with your fingers and mark it with a marker pen or tie a small knot.
- Wrap Your Natural Waist: Find the narrowest indentation above your navel, wrap the string, and mark the second point.
- Wrap Your Hips: Wrap around the widest part of your buttocks/hips and mark the third segment.
- Compare Segment Lengths: Lay the three string segments side-by-side on a flat table:
- If the Bust and Hip segments are nearly equal and the Waist segment is significantly shorter (≥6 inches of visible gap), you possess an Hourglass silhouette.
- If the Hip segment is noticeably longer than both bust and waist strings, you are a Pear or Spoon.
- If all three strings are within 1 to 2 inches of each other, you are a Rectangle.
- If the Bust segment is the longest of all three, you are an Inverted Triangle.
Method 2: The Full-Length Mirror Alignment Test
This visual assessment evaluates skeletal balance and the vertical plumb-line relationship between your shoulder joints and pelvic crest:
Prepare the Environment
Wear fitted leggings and a sports bra, or stand in minimal undergarments. Tie hair back completely so your neck and shoulder line are unobstructed.
Stand 6 Feet Back
Position yourself 6 to 8 feet away from a full-length mirror. Stand straight with heels touching, shoulders relaxed (not hunched or puffed), and arms held 3 inches away from your ribs.
Drop Vertical Plumb-Lines
Envision two straight vertical laser lines dropping straight down from the outer edges of your shoulder bones (acromion processes) toward the floor.
Visual Alignment Diagnostic Key:
Method 3: The Fitted Garment Friction & Waistband Gap Test
Mass-market ready-to-wear clothing is constructed on standardized corporate fit models. Where garments consistently fail or succeed on your body reveals your structural skeletal ratios:
The “Waistband Gap” Clue
If non-stretch jeans that fit comfortably over your thighs and buttocks consistently leave a 2-to-4 inch gaping space at the back waistband, your waist is significantly narrower than standard commercial proportions.
The “Tight Thighs, Loose Waist” Paradox
If pants fit perfectly in the waist but pull tight, drag horizontally across the crotch, or get stuck at the upper thigh/hip shelf, your lower body circumference strongly dominates your upper torso.
The “Button Gap & Broad Shoulder” Strain
If tailored blazers and button-down shirts pull tight across your back or chest while hanging loose and boxy around your lower hips, your upper perimeter clearly exceeds your pelvic circumference.
The “Straight Belt Tightener” Fit
If pencil skirts and jeans fit smoothly from waistband to hip without bunching, gaping, or pulling across curves, your waist-to-hip ratio is close to 0.80 or higher with uniform linear contours.
Comparison: DIY Estimation Methods vs. Clinical Tape Measurement
| Assessment Method | Precision Level | Diagnostic Strengths | Primary Limitation |
|---|---|---|---|
| String & Object Method | High (90–95%) | Accurate circumference deltas without numbers | Requires steady fingers to prevent slip |
| Mirror Plumb-Line Test | Moderate (75–85%) | Immediate visual shoulder-to-hip alignment | Subjective to viewing angles and posture |
| Denim Fit Assessment | Moderate (70–80%) | Identifies real-world tailoring friction points | Garment vanity sizing introduces noise |
| Flexible Vinyl Tape Measure | Gold Standard (>98%) | Exact decimal inputs for WHO health metrics | Requires acquiring a tailor tape |
The Bottom Line: Proportions Are Observable Everywhere
You don’t need to wait for a shopping trip or a specialized kit to understand your silhouette. By paying attention to string comparisons, shoulder-to-hip mirror plumb lines, and garment friction, you can readily categorize your primary silhouette.
When you are ready for precision tailoring or health assessment, grab a tape measure and plug your numbers into the ToolWingz calculator to unlock your complete personalized wardrobe blueprint.
Verify Your Numbers in the ToolWingz Body Shape Calculator
Once you measure your marked strings against a standard ruler, enter your numbers into our interactive tool to generate your exact proportion ratios and custom styling advice.
Educational Disclaimer: ToolWingz provides ratio-based body shape calculations for personal styling and education.